Vendor Page
Vendor is the function to enable the ISV to manage their own branding and image details which then is displayed within Wavefire Connect for their clients..
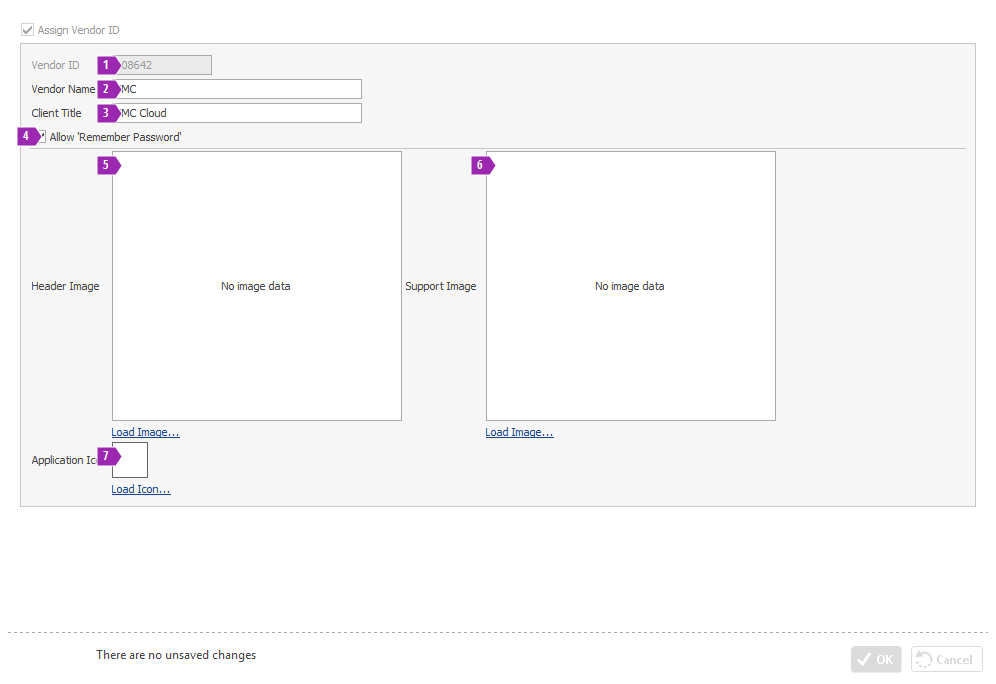
Assign Vendor ID Tick Box – Ticking here will give the user the option to use
Vendor ID
This will be the 6-digit number that has been assigned to the ISV. (Note this does not contain the country prefix for example GB)
Vendor Name
Usually the name of the ISV
Client Title
The client title is used to name the branded Desktop Icons on end-users' machines and for the window title of Wavefire Connect.
Allow “Remember Password” Check Box
When this box is checked, end-users will be given the option to have Wavefire Connect remember their password so that they don't have to enter it each time they log in. If a user opts to remember their password then the password is stored securely in the Windows Password Store on the user's machine.
Header Image & Support Image
Both of these images are used to brand the Wavefire Connect application. The header image is displayed on the 'Login' screen and the support image conveys any required support information to the user in the 'Help' screen.
Both images should be 290px wide by 270px high.
Application Icon
This image will be displayed on the shortcut of the users’ desktops.
Tip
Any information entered or changed can be saved by clicking on the OK button.
Click Cancel to discard any changes made on the screen.
If you try to navigate away from this view without saving first, you will be prompted to
Save Changes, Discard Changes or Continue Editing.