Wavefire Manager Walkthrough
Welcome to Wavefire Manager. In this article we'll walk through Wavefire Manager and give you an overview of how to use it, summarise the concepts involved and give you links to more detailed information on each topic.
Organisations
Organisations are the fundamental organisational unit in Wavefire and usually correspond to a corporate entity - for example an ISV (Independent Software Vendor) would be an organisation. Organisations can own users, applications, branding and servers; they can also own other organisations - for example an ISV might have clients, each of which are an organisation belonging to the ISV.
When you use Wavefire Manager, you'll be able to administrate not only the Organisation that you are a member of, but also any Organisations which belong to your organisation. A picture might make this clearer!
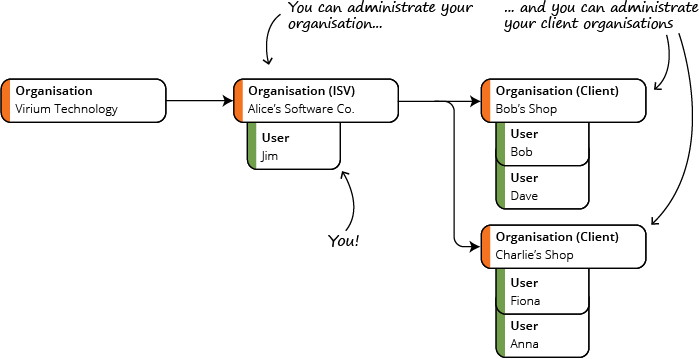
In this example, you (as Jim) are an administrator for Alice's Software Co. - you can administrate your own users, your product offering, your branding and view the real-time performance of your platform. You can also administrate your two clients - this means that you can allocate products to them (so that they can use your software, but only what you want them to use) and you can help them out if they need it.
Now let's say you were Fiona instead and you're an administrator of Charlie's Shop; You'd only be able to administrate Charlie's Shop and you'd be restricted by the limitations imposed by Alice's Software Co. - these limitations include how may users you can have and what applications they can use.
Whilst the typical Wavefire configuration supports only an ISV and its Clients, Virium Technology can provide any custom configuration include multiple levels and branching (e.g. an ISV could have both Resellers and Client, the each Reseller could have its own Clients and so on).
Getting Started
The basic screen comprises 3 areas: The Organisation Menu, the Search Box and the Tab Panel.
Organisation menu
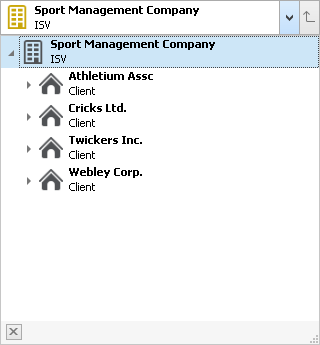
The Organisation Menu tells you which Organisation you're administrating - as mentioned earlier, you might have access to more than one organisation. Clicking on the Organisation Menu will allow you switch between different Organisations.
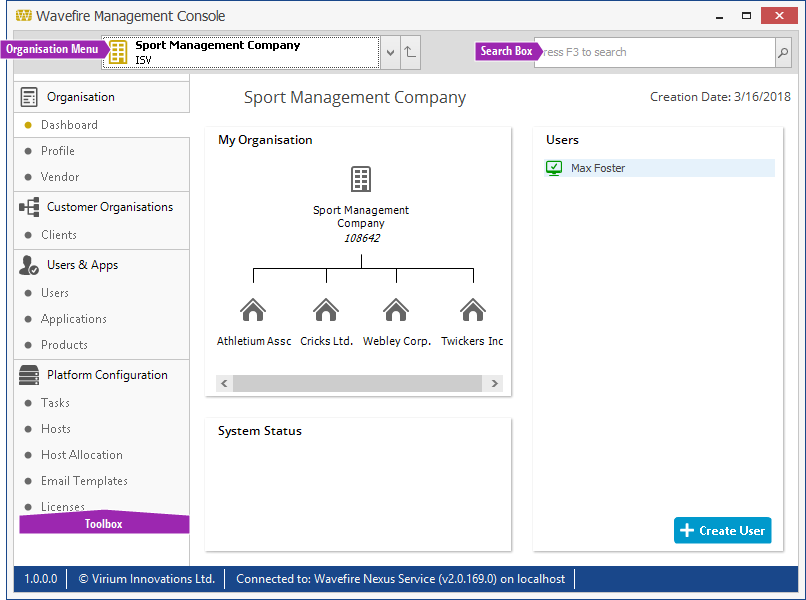
Each time you start Wavefire Manager, the Organisation Menu will be set to your own organisation, the dashboard will give an overview of what you are able to manage and display some basic information about your platform.
Search Box
The Search Box allows you to quickly find an Organisation, User or Product by entering all or part of its name.
Tip
You can search at any time by pressing F3 and then typing
Tab Panel
When you select an Organisation in the Organisation Menu, the Tab Panel displays a tab for each aspect of that Organisation that you can view or administrate.
Dashboard
This offers a basic overview of the currently selected Organisation across three panels.
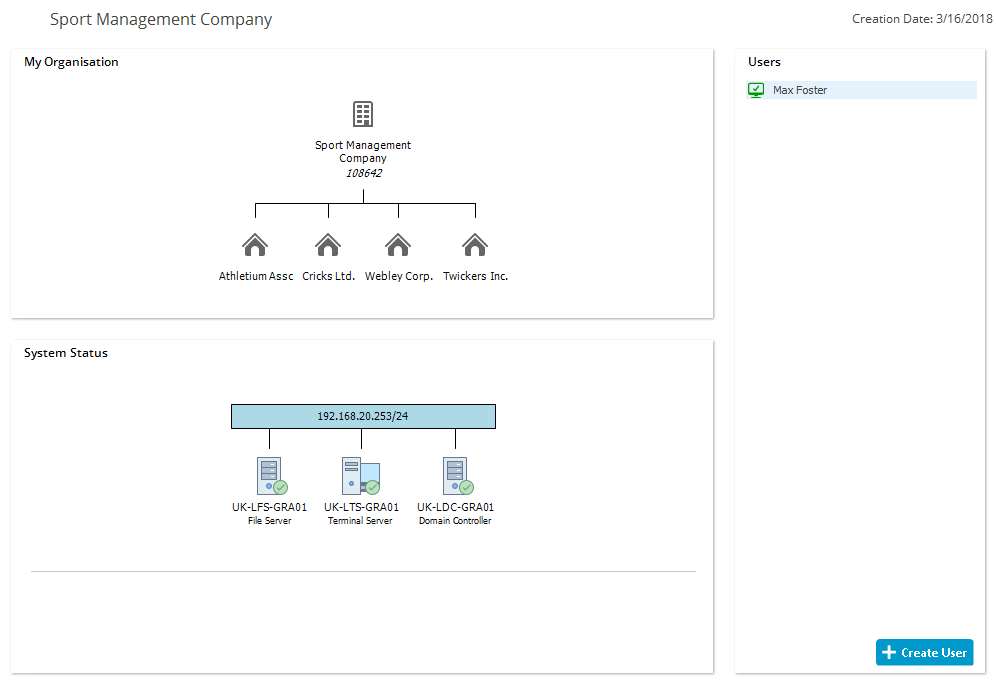
The TODO first panel shows the selected Organisation and its customer Organisations (complete with any vendor information). Doublick-clicking on an Organisation will select that Organisation and drill-down to its dashboard.
The System Status panel shows the selected Organisation's host configuration. A single click on a host will display the hardware status of each server in terms of connectivity, CPU state and low memory or disk space. A more detailed view is available by double clicking on a host.
The TODO third panel shows the selected Organisation's users and their current status.
Customer Organisations
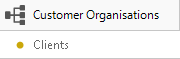
If the selected Organisation has any Customer Organisations then, underneath the Dashboard tab, there will be a Customer Organisations section containing a tab for each type of Customer Organisation. For example if you are viewing an ISV then you would have a Clients tab.
Each Customer Organisation tab displays a list of the existing Customer Organisations
To add a new Customer Organisation, click the 'Add' (e.g. Add Client) button at the bottom of the page; You will then be asked to complete the profile for the new Customer Organisation, once you've done this and clicked 'OK', the new Customer Organisation will be created.
<xref:conceptOrganisations>
Tip
As an alternative to using the Organisation Menu to switch between Organisations, you can double-click on a row in a Customer Organisation list.
Profile

The Profile tab display the basic information (i.e. Name, Address, email contacts etc.) for the selected Organisation. As an administrator, you can edit the profile of any of your Customer Organisations but not of your own Organisation.
Users

The Users tab manages all of the users for the selected Organisation. On the left you will see a list of all of the users in the selected Organisation, the icon to the left of each user indicates their current status:
 - Indicates an Active Session
 - Indicates a user has no Session
 - Indicates an Inactive Session
Clicking on a User in the list will select that User and allow you to view and edit their details to the right:
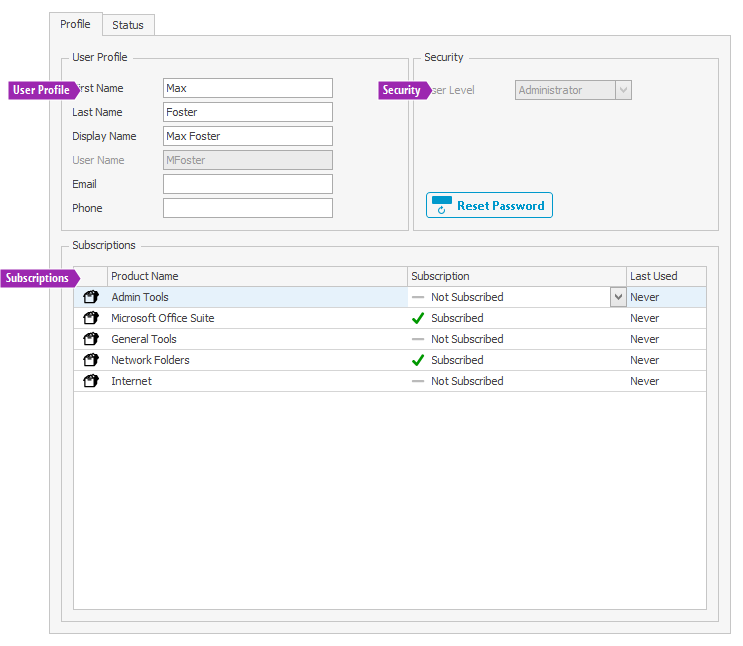
The User Profile defines the basic information about the User - you can modify any of these details apart from the User Name which is fixed when the User is created.
The Security section allows you to:
- Reset the User's password
- Set the User Level
The User Level this determines what level of access the user has to Wavefire:
- Administrator - The user can administrate your Organisation and any Customer Organisations
- Power User - The user can read, but not edit, the details of your Organisation and any Customer organisations
- User - The user can log in to Wavefire using the Cloud Client and use Cloud Applications.
The Subscriptions section shows what Products the user has access to. Each Product that the selected Organisation has access to is listed in this section and the user can be subscribed to any or all products as required. Once a user is subscribed to a product, every application in that product will appear in the Cloud Client for that user to launch and user.
To create a new user, click the Create User button:

Vendor

In Wavefire, a Vendor defines the branding that will be applied to the Cloud Client and an associated Vendor ID that will be given to your customers.
The Vendor Tab provides you with the ability to edit the branding, however the Vendor ID itself is fixed and cannot be changed.
Products

The Products tab gives you control over the Products that your Organisation offers. Each Product is comprised of many applicaions (and can even contain other Products).
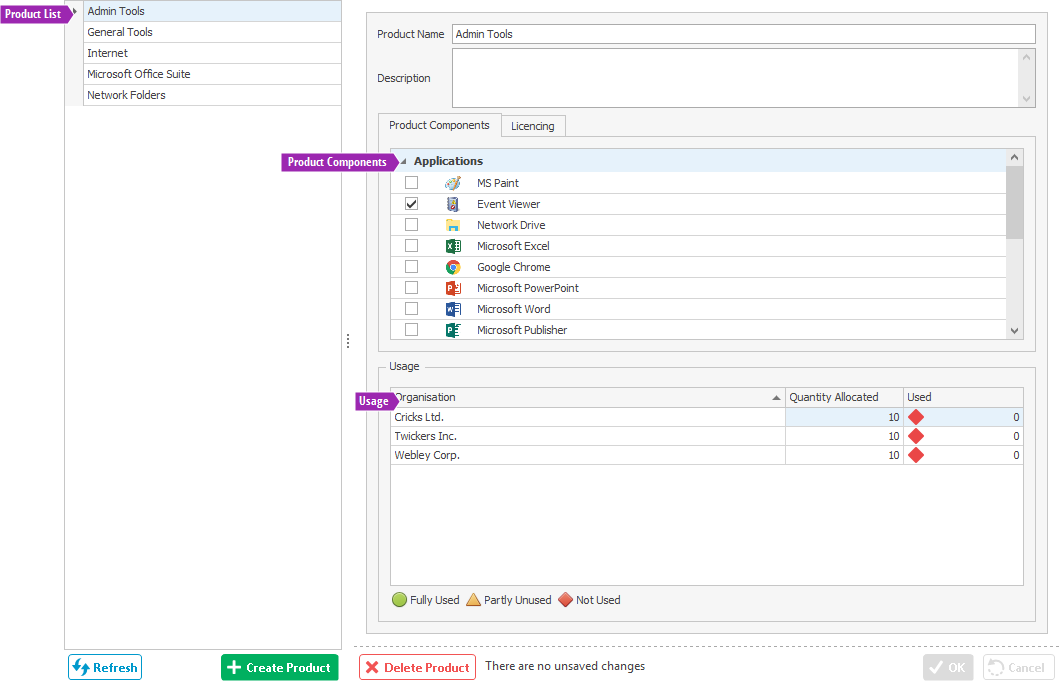
On the left you can see a list of the Products available to your Organisation. By clicking on a Product you can see the Product's details on the right-hand side of the screen.
The Product Components sections tells you what is in the Product and the Usage section lets you know how many copies of the product are allocated to each of Customer Organisation and how many of those are being used.
Hosts
The Hosts tab displays all of the hosts (or servers) that the selected Organisation uses.
The host list to the left of the tab displays the CPU and Memory usage on the host and clicking a host will display a more detailed view on the right-hand side fo the screen.